MizuMakes may earn a commission from links in this post.
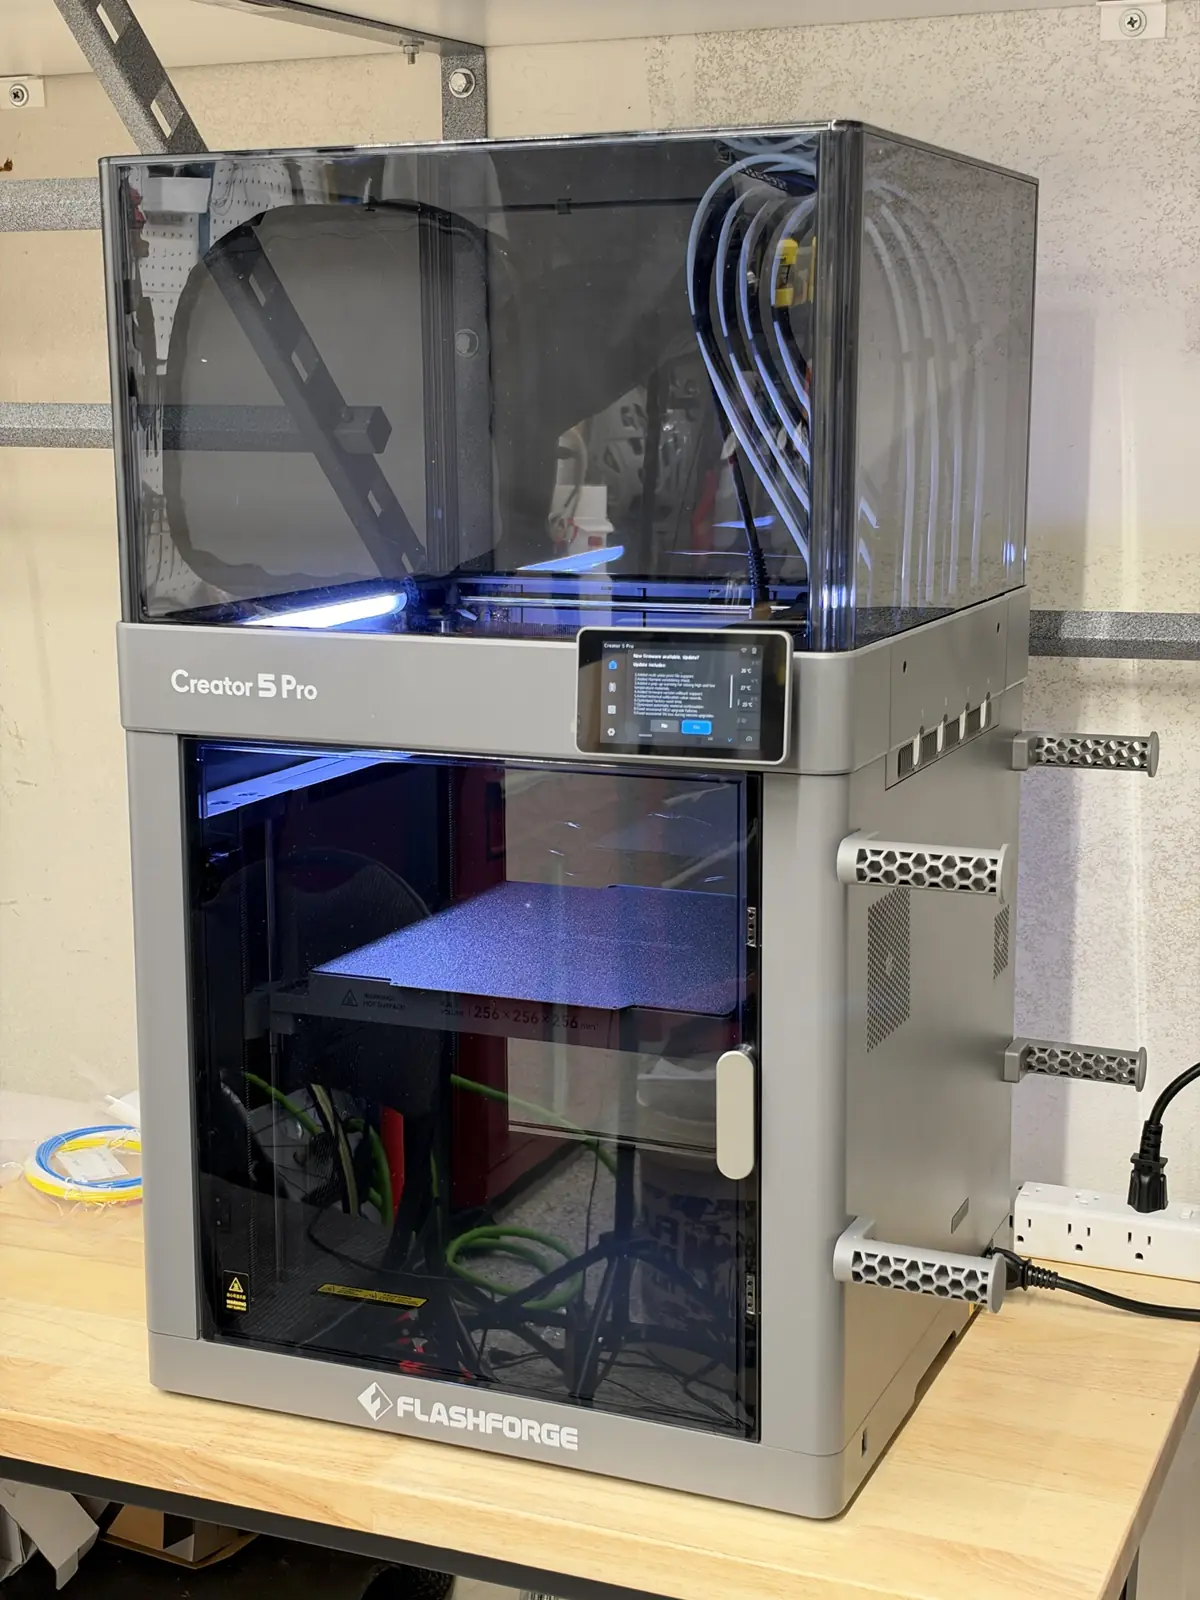
Short answer: to print multiple colors on the Flashforge Creator 5 Pro, load each color into its own toolhead, then set that toolhead’s material and color on the printer’s screen. In Flash Studio, assign colors to the model and slice with the prime tower on. When you send the job, map each slicer color to the matching toolhead. The printer swaps whole toolheads instead of unloading and reloading filament, so there’s no long purge between colors.
I came to the Creator 5 Pro from a Bambu P1S with an AMS, and the multi-color workflow is different enough that it’s worth walking through. This is the setup I’m using. If you’re still deciding on the printer, I covered why I chose the Creator 5 Pro over the Bambu H2D.
How multi-color works on a toolchanger (and why it wastes less)
An AMS-style system feeds every color through one nozzle. On each color change it pulls the old filament out, pushes the new one in, and purges until the color runs clean. Tester Anton Månsson puts that at roughly 60–90 seconds per swap.
The Creator 5 Pro has four independent toolheads, each with its own filament already loaded. A color change parks one toolhead and picks up another. Parked heads idle at about 100–120 °C and preheat before they’re picked up, and a drip protector on each dock keeps them from oozing while they wait. Månsson measured about 22 seconds per color change, prime tower included.
The waste difference is the headline. On his four-color test model, the Creator 5 Pro used 100.6 g of filament on the prime tower in total. Bambu Studio estimated 656.6 g for the same model on an AMS printer, 581 g of it purge. Flashforge’s “zero purge waste” marketing goes too far, though. Notebookcheck measured 36 g of waste on a 16 g four-color Benchy at factory settings, because every print still primes each tool. Expect low waste, not none.
Step 1: Run the toolhead offset calibration first
Four toolheads only line up if the printer knows exactly where each nozzle sits relative to the others. The Creator 5 Pro measures this automatically. It prints alignment patterns, measures the XY offset of each head, and checks Z with a short test line from each. Reviewers put the toolhead routine at about 15–20 minutes, longer if you run full calibration with bed leveling and vibration compensation.
Run it:
- when the printer is new
- after every firmware update
- after moving the printer
- after a crash or failed print that may have knocked a toolhead
Månsson skipped it after a firmware update and saw fine text get noticeably worse. Misaligned heads show up first as color boundaries that don’t meet cleanly, so if your seams look offset, recalibrate before you change any slicer settings.
Step 2: Load filament and set material and color on the printer
The Creator 5 Pro has no RFID, so the printer doesn’t know what you loaded until you tell it. Load each spool into its toolhead, then set the material type and an approximate color for that toolhead on the touchscreen.
Get the material type right. If the material in your sliced file doesn’t match what’s set on the printer, the print won’t start. Månsson hit this with PP, which had no preset on the machine, and had to pick the closest material instead. The color on the screen only helps you map toolheads later, but the material type is enforced.
Dry your filament before a long multi-color job. A wet spool strings more, and strings from a parked or freshly picked-up toolhead end up as wisps of the wrong color on your part. The Creator 5 Pro’s spools hang outside with no drying system, so pre-dry anything that’s been open a while. My filament drying guide covers temperatures and times.
Step 3: Set up Flash Studio
Flashforge’s slicer for the Creator 5 series is Flash Studio, a Flashforge fork of OrcaSlicer. Standard OrcaSlicer and Orca-Flashforge also work with the right printer profile. If you’ve used Bambu Studio or OrcaSlicer, the layout will feel familiar.
- Select the Creator 5 Pro printer profile.
- In the filament list, add one filament per color you plan to use, up to four.
- Set each filament’s type and color to match what’s loaded on the printer. The colors in the slicer are only for your preview, but the types have to match the printer.
Step 4: Assign colors to the model
There are three ways to color a model, the same as in other Orca-based slicers:
- Separate objects or parts. If the model comes as separate pieces, like a multi-part 3MF or several STLs, select each part and set its filament. This gives the cleanest color boundaries because they follow real geometry.
- Split a single model. Some single-body models can be split into parts, which you then color individually. Not every model splits cleanly.
- Paint it. Use the color painting tool to brush colors onto surfaces, or fill whole faces at once. This is how you add a logo or accent color to a model designed in one color.
A note on MakerWorld files: multi-color 3MF projects made for Bambu printers often need remapping on the Creator 5 Pro. You’ll usually need to reselect the printer, the plate, and each filament profile before it slices correctly.
Step 5: Keep the prime tower on
Each time a toolhead is picked up, it primes a small amount on the prime tower before printing on your part. That gets the pressure in the nozzle back to normal and wipes off any ooze from parking. It’s also where most of the Creator 5 Pro’s waste goes, but it’s far less than an AMS purge.
Leave it on, especially for your first prints. Turning it off saves a few grams but invites blobs and strings at every color boundary. Two things to know:
- The tower grows with the number of changes, not the number of colors. A model that alternates colors every layer makes a tall, busy tower. If you can, design accent colors so they sit in a band of layers instead of scattered through the whole height.
- Priming into infill is an option in some setups, but the prime tower is the default. Stick with the tower until your results are consistent.
Step 6: Send the job and map toolheads
Slice, then send the job to the printer. In the send step, match each color in your sliced file to the toolhead that has that filament loaded. If a color won’t map, check the material type on the printer for that toolhead. A type mismatch blocks the job.
Before you hit print on a long job, run something small. A four-color Benchy takes about 45 minutes on the Creator 5, according to 3DWithUs, and it’ll show you right away whether your offsets and mapping are correct.
Step 7: Deal with the startup purge
At the start of each print, the Creator 5 Pro purges each toolhead it’s about to use. That purge drops under the bed, and there’s no chute or bin to catch it, so it piles up inside the machine. Reviewers called it out as a real annoyance. The community fix is a printed purge bin that sits under the purge location. Print one early, and clear it out every few jobs.
Beyond color: using the four toolheads for functional parts
Color is the obvious use, but four independent toolheads are more useful for function than for looks. Because each material has its own nozzle, you can combine materials that would be a headache through a single-nozzle AMS:
- Support interfaces. Print PLA parts with a PETG support interface, or PETG parts with a PLA interface. The two don’t bond well, so supports peel off cleanly and leave a smooth underside.
- Soluble supports. PVA or BVOH supports for internal geometry you can’t reach with pliers.
- Soft and rigid together. TPU pads, grips, or gaskets on a rigid body. Each material has its own toolhead, so TPU never has to travel through a shared path.
- Non-bonding pairs. For materials that won’t stick to each other, use the slicer’s interlocking beam option to mechanically lock the two together at the interface.
Plan the load path when you mix materials. The joint between two different plastics is the weak plane, so put it in shear or compression rather than peel. That’s the same rule as layer lines: the boundary is where parts fail. My PLA vs PETG and outdoor filament guides cover how each material behaves.
One limit: you can’t mix nozzle sizes in a single print. The slicer has no way to assign a different nozzle diameter to each toolhead, so all four print with the same nozzle size in a given job. If that matters to you, the Bambu Lab H3C plans mixed-diameter toolpaths, at about three times the price.
Troubleshooting multi-color prints
| Problem | Likely cause | Fix |
|---|---|---|
| Print won’t start | Material type in the file doesn’t match the printer | Set the toolhead’s material on the screen to match the slicer |
| Color boundaries don’t line up | Toolhead offsets out of date | Rerun toolhead calibration, especially after firmware updates |
| Wisps of one color on another | Wet filament or ooze from a parked head | Dry the spool; keep the prime tower on |
| MakerWorld 3MF won’t slice right | Built for a Bambu printer | Reselect printer, plate, and filament profiles |
| Mess under the bed | Startup purge has nowhere to go | Print a purge bin and empty it regularly |
| More waste than expected | Many color changes per layer | Group accent colors into fewer layers; check tower settings |
If you’re still shopping, here’s the Flashforge Creator 5 Pro, and my deal breakdown against the H2D, INDX, U1, and P2S covers pricing.